Resin 3D printing, also known as SLA, DLP, or LCD printing, is widely recognized for its ability to produce highly detailed and smooth-surface parts. 그들의 의복이 얼마나 무거운지, 작업 환경이 얼마나 더운지는 중요하지 않습니다., achieving consistent results requires precise environmental and thermal control. One often overlooked factor is 온도 안정성, which directly affects resin behavior, curing consistency, 전반적인 인쇄 품질.
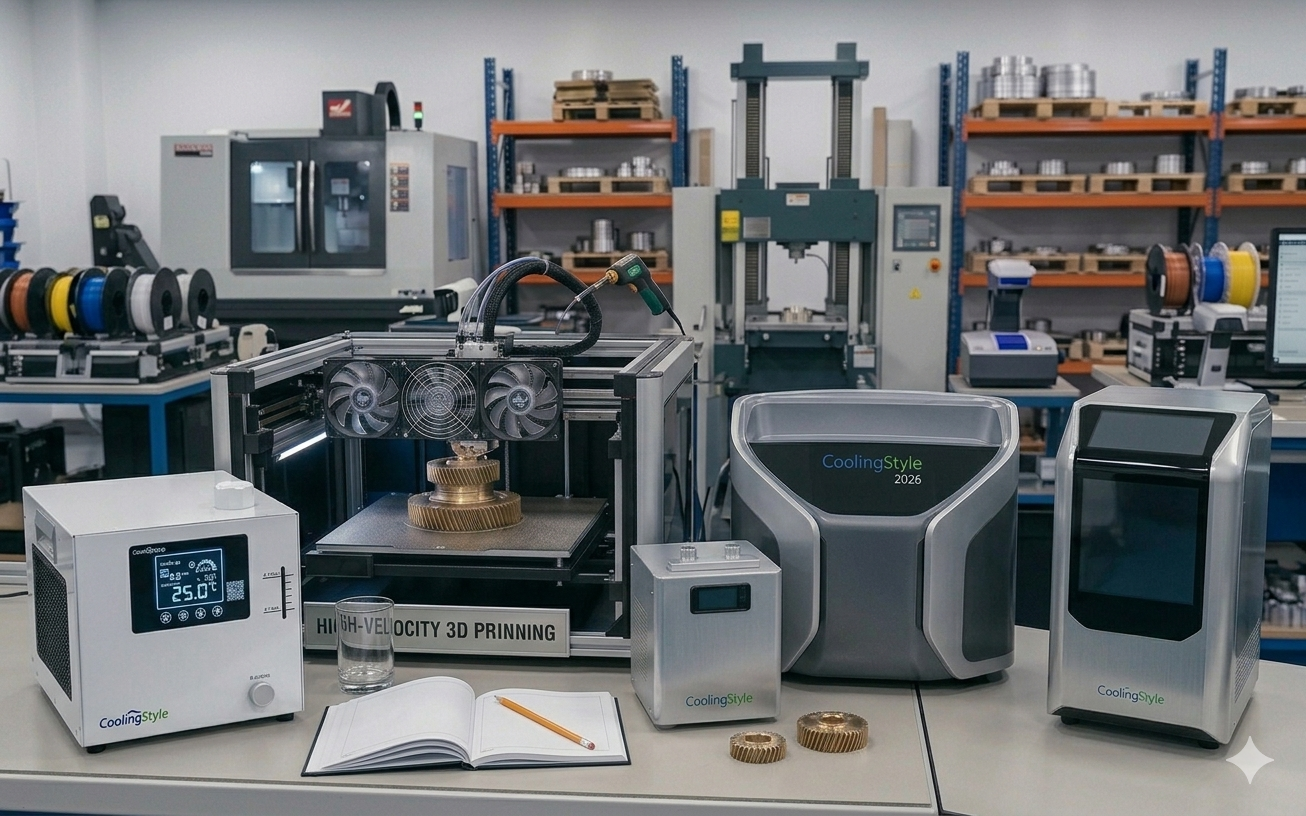
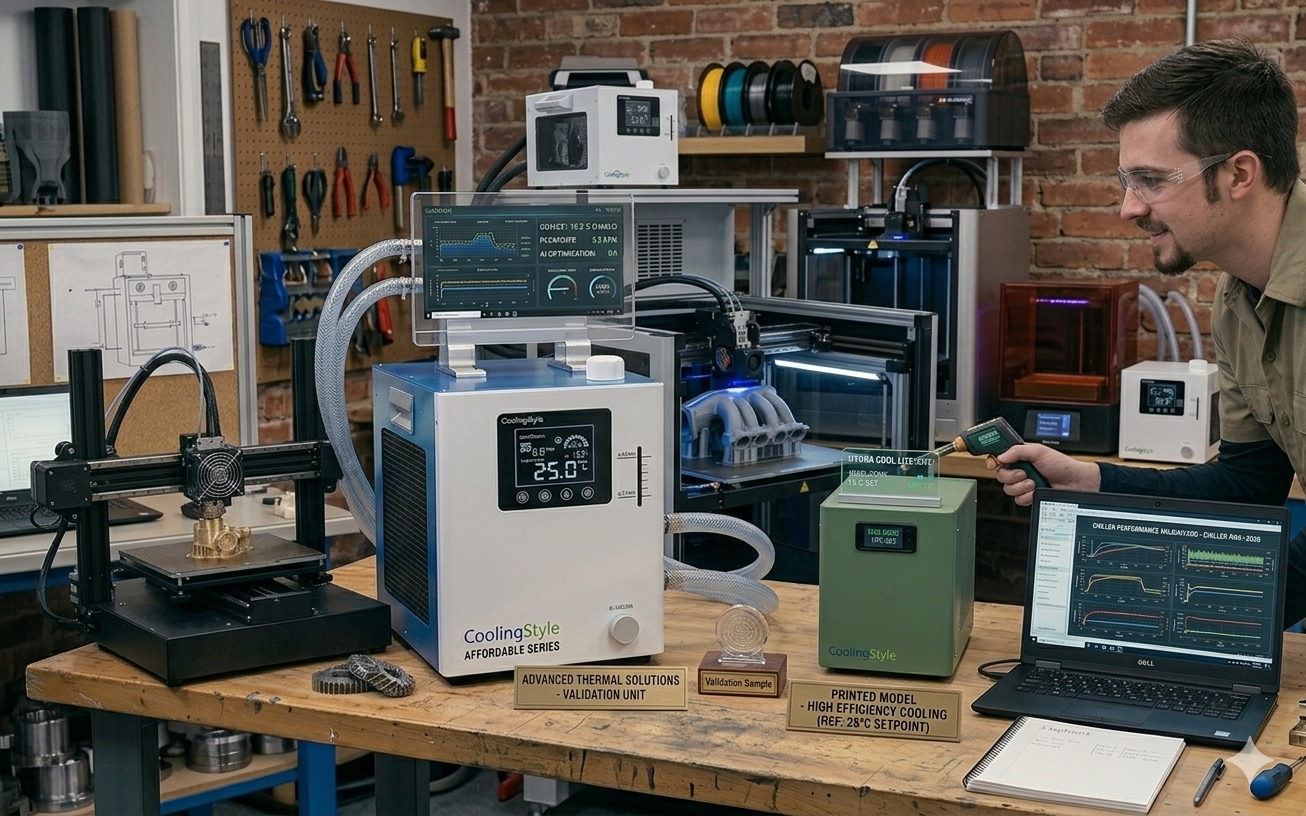
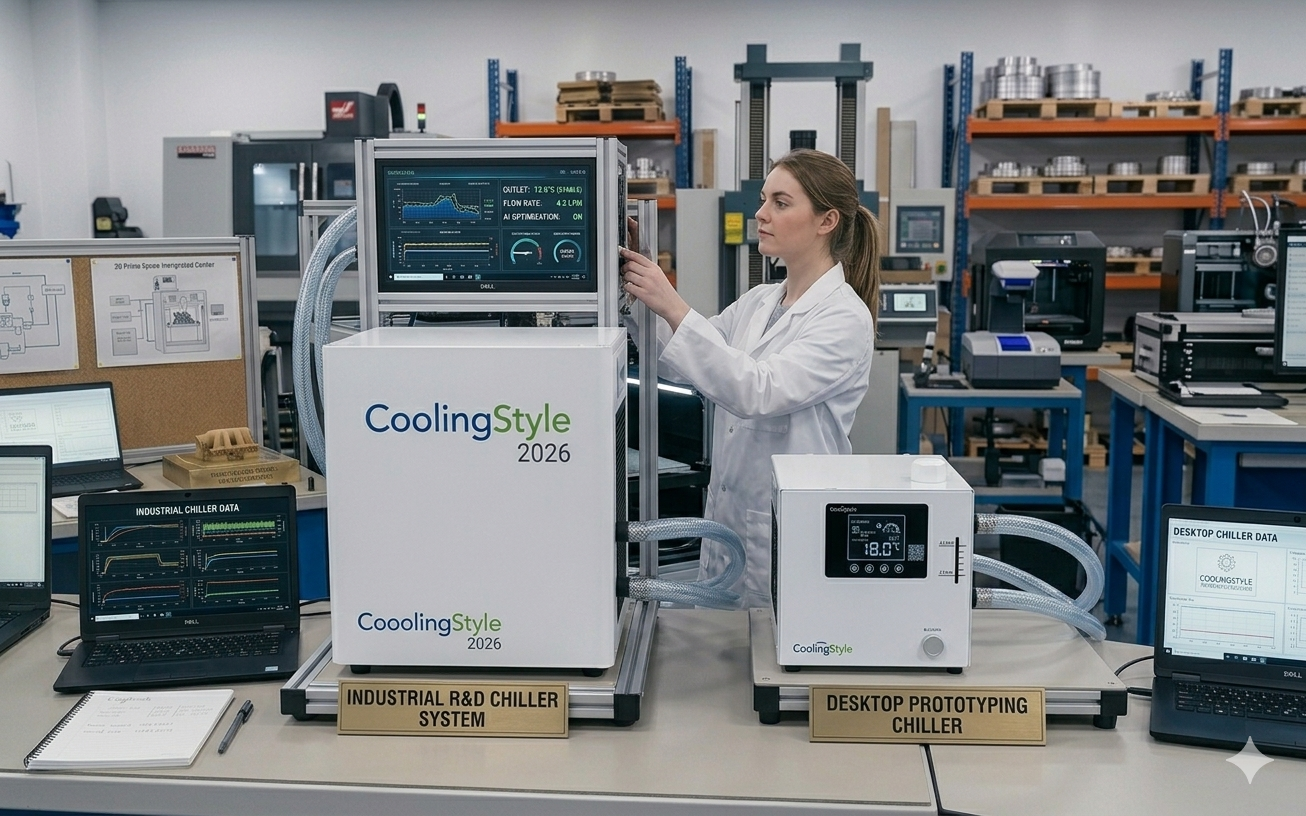
Installing a water chiller for resin 3D printers is an effective solution to maintain optimal operating conditions. 이 종합 가이드에서, we will walk you through the setup process, explain why cooling is critical for resin printing, and demonstrate how advanced solutions from 냉각 스타일—featuring ±0.01°C 정밀도, 컴팩트한 마이크로 디자인, 친환경 R290 냉매, 마이크로채널 열교환 기술—can significantly enhance performance.
Why Temperature Control Matters in Resin 3D Printing
Unlike filament-based printing, resin printing relies on photopolymerization. Temperature fluctuations can alter resin viscosity and curing speed, 이끌어냅니다:
- Layer inconsistencies
- Warping or shrinkage
- Incomplete curing
- Surface defects
Maintaining a stable temperature ensures predictable resin behavior and higher-quality results.
Benefits of Using a Water Chiller
A water chiller offers several advantages over passive cooling or air-based systems:
- 정확한 온도 조절
- 효율적인 열 제거
- Consistent printing conditions
- Reduced risk of print failure
High-performance systems like 냉각 스타일 제공하다 ±0.01°C 정밀도, making them ideal for high-detail resin applications.
Understanding Resin Printer Heat Sources
Before setting up a chiller, it’s important to understand where heat originates:
- UV light source (LCD/laser)
- Electronics and power systems
- Ambient environment
These heat sources can raise internal temperatures, affecting resin performance if not properly managed.
Tools and Equipment Needed
- Water chiller unit
- Compatible tubing
- Coolant or distilled water
- Hose clamps
- Power supply
- Temperature monitoring tools
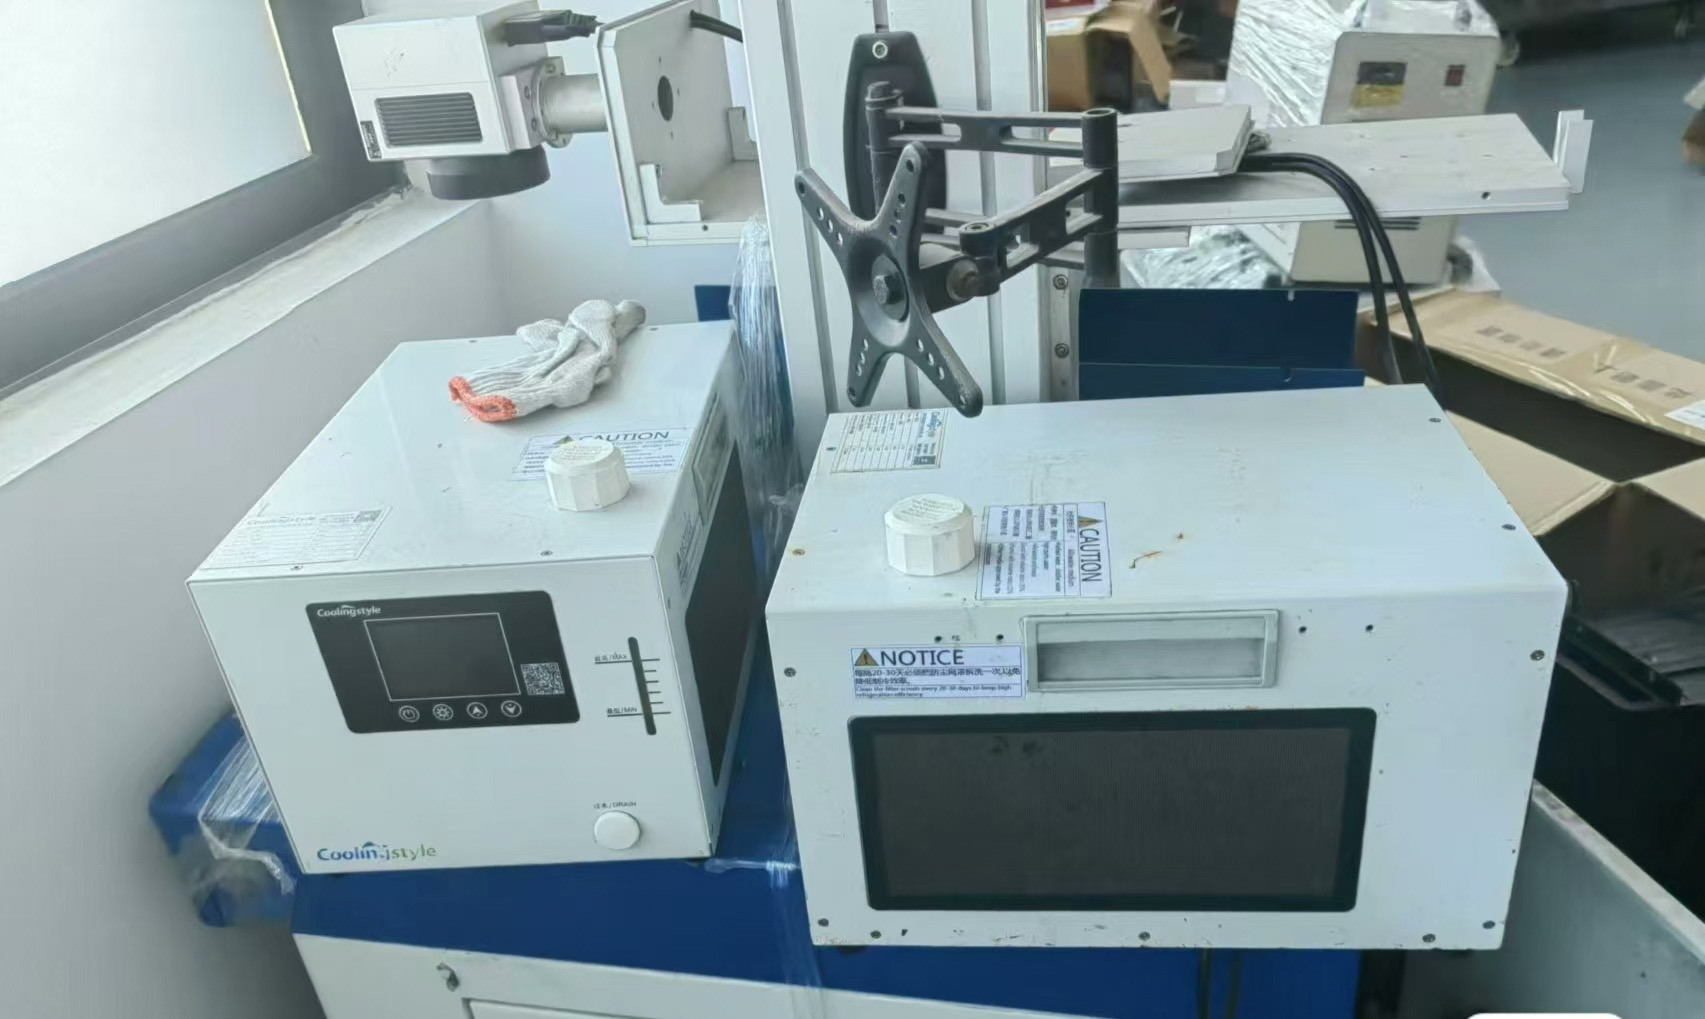
Thanks to its 컴팩트한 마이크로 디자인, coolingstyle chillers are easy to integrate even in small workspaces.
단계 1: Choose the Installation Location
Select a well-ventilated area near your resin printer:
- Avoid direct sunlight
- Ensure airflow around the chiller
- Keep the unit stable and level
The compact size of coolingstyle units allows flexible placement without taking up valuable workspace.
단계 2: Identify Cooling Points on the Printer
Determine where the cooling system will connect. Common points include:
- UV light module cooling ports
- External cooling loops (if available)
Consult your printer’s manual for compatibility.
단계 3: Connect Tubing
Proper tubing installation is essential for efficient cooling:
- Connect inlet and outlet ports
- Secure with clamps
- Avoid bends or restrictions
쿨링스타일의 microchannel heat exchange technology enhances flow efficiency, ensuring optimal cooling performance.
단계 4: Fill the Cooling System
Add coolant according to manufacturer recommendations:
- Use distilled water or approved coolant
- Remove air bubbles
- Check for leaks
단계 5: Connect Power and Start the System
Ensure proper electrical setup:
- Match voltage requirements
- Use grounded outlets
- Avoid overloaded circuits
Coolingstyle systems are energy-efficient and designed for stable operation.
단계 6: Set the Target Temperature
Resin printing typically performs best within a controlled temperature range.
- Standard resins: 20–25°C
- Engineering resins: tighter control required
와 함께 ±0.01°C 정밀도, coolingstyle allows extremely accurate temperature adjustments.
단계 7: Test the System
Run initial tests before full operation:
- Check coolant flow
- Monitor temperature stability
- Inspect for leaks
단계 8: Optimize for Your Workflow
Fine-tune settings based on your production needs:
- Adjust temperature for different resins
- Monitor print consistency
- Optimize cooling cycles
피해야 할 일반적인 실수
- Using incorrect coolant
- Poor tubing connections
- Ignoring airflow requirements
- Setting unstable temperatures
Maintenance Tips for Long-Term Performance
- Clean filters regularly
- Check coolant levels
- Inspect tubing for wear
- Perform routine system checks
Why coolingstyle Is Ideal for Resin 3D Printing
냉각 스타일 offers advanced cooling solutions tailored for precision applications like resin printing.
주요 장점:
- Ultra-high precision (±0.01°C)
- Compact micro design for tight spaces
- 친환경 R290 냉매
- 첨단 마이크로채널 열교환 기술
- Stable and reliable cooling performance
These features ensure consistent results, 효율성 향상, and reduced operational risks.
Future Trends in Resin Printing Cooling
- Smart temperature monitoring systems
- 더욱 콤팩트해진 고성능 냉각기
- Greater adoption of eco-friendly refrigerants
- Integration with automated workflows
Coolingstyle 소형 압축기의 응용
Setting up a water chiller for resin 3D printers is a crucial step toward achieving consistent, high-quality results. Proper installation and configuration ensure stable temperatures, 실패를 줄이다, and improve overall efficiency.
By choosing an advanced solution like 냉각 스타일, you gain access to 0.01°C 정밀도, 컴팩트한 디자인, 친환경 R290 냉매, 마이크로채널 열교환 기술, making it easier to optimize your resin printing workflow.
Investing in the right cooling system is not just about temperature control—it’s about unlocking the full potential of your resin 3D printing operation.
Upgrade Your Resin Printing with coolingstyle
Contains AI Content