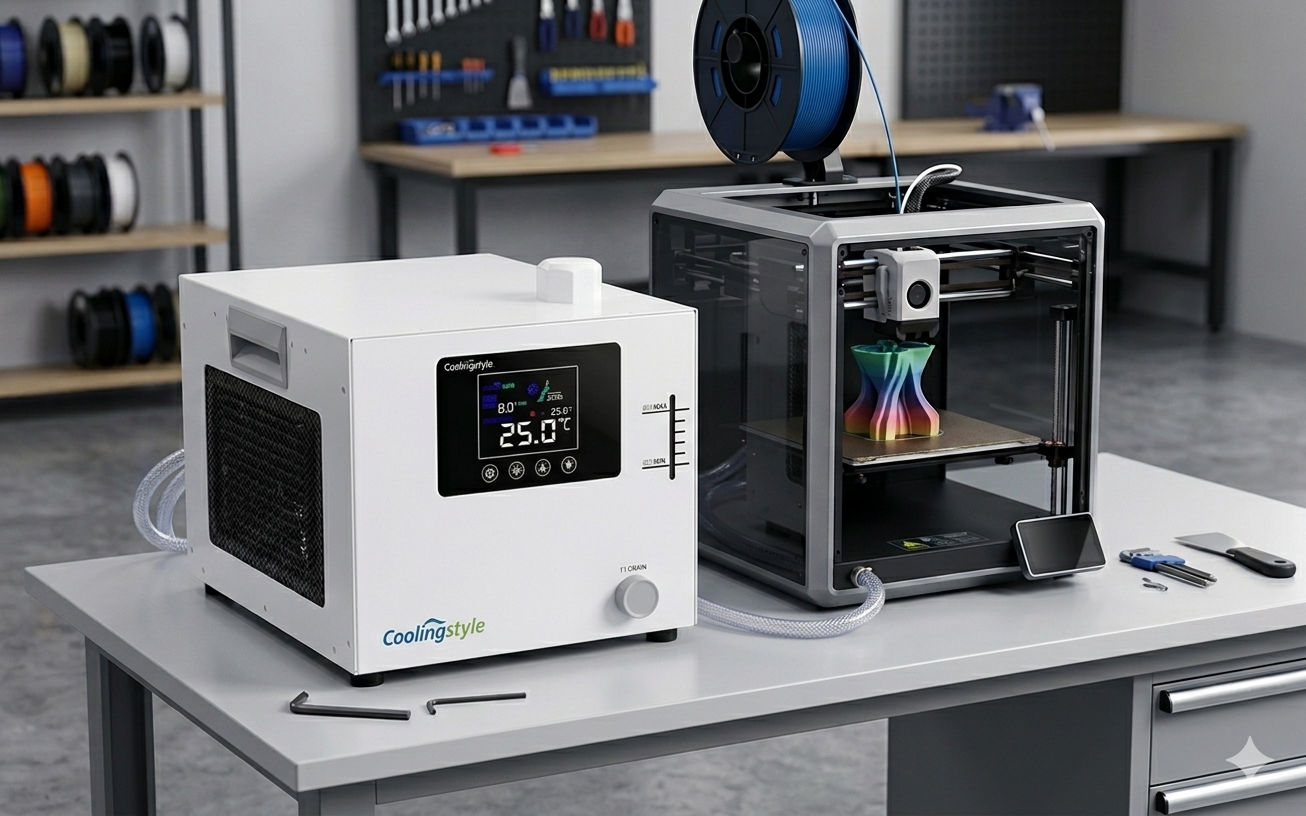
安装一个 3D打印机冷水机 是提高印刷质量最有效的方法之一, 确保温度稳定, 并延长设备的使用寿命. 无论您是经营小型车间还是管理工业 3D 打印设置, 正确安装的冷水机可以显着提高性能.
在本分步指南中, 我们将引导您完成 3D 打印机冷水机的完整安装过程. 我们还将重点介绍先进的解决方案如何 冷却风格——特色 ±0.01℃精度, 紧凑的微型设计, 环保R290制冷剂, 和微通道热交换技术——让安装更简单,性能更可靠.
为什么正确安装很重要
Even the most advanced chiller will not perform optimally if it is installed incorrectly. Proper installation ensures:
- 温度控制稳定
- Efficient heat dissipation
- Reduced risk of system failure
- Longer equipment lifespan
Incorrect installation, 另一方面, can lead to leaks, overheating, and inconsistent print quality.
您需要的工具和材料
- 3D printer chiller unit
- Coolant (recommended by manufacturer)
- Flexible tubing
- Hose clamps
- Power cables
- Screwdriver and wrench
- Distilled water (if required)
许多 冷却风格 systems come with simplified connection designs, reducing the need for complex tools.
步 1: 选择正确的安装位置
Start by selecting a suitable location for your chiller.
- 确保适当的通风
- Avoid direct sunlight
- Keep away from dust and moisture
- Place on a stable, level surface
Thanks to its 紧凑的微型设计, a coolingstyle chiller can fit easily into tight workspaces, making placement more flexible.
步 2: 检查冷却装置
Before installation, carefully inspect the unit:
- Check for visible damage
- Ensure all components are included
- Verify connection ports are clean
This step helps prevent issues during setup.
步 3: 连接冷却管
Proper tubing connection is critical for efficient cooling.
- Identify the inlet and outlet ports
- Attach tubing securely
- Tighten hose clamps to prevent leaks
- Ensure no kinks or bends in the tubing
Coolingstyle systems are designed with optimized flow paths, supported by microchannel heat exchange technology, ensuring efficient coolant circulation.
步 4: 加注冷却液
Add coolant to the system according to the manufacturer’s instructions.
- 使用推荐的冷却液类型
- 避免装得太满
- 检查是否有气泡
使用高质量冷却剂可确保更好的传热和系统寿命.
步 5: Connect the Power Supply
下一个, 将冷水机连接至电源.
- 确保正确的电压兼容性
- 使用接地插座
- 避免电路过载
Coolstyle 等节能系统有助于降低运行期间的功耗.
步 6: Integrate with the 3D Printer
将冷却器连接到 3D 打印机的冷却接口.
- 保护所有连接
- 确保正确的流向
- 仔细检查配件
这种集成使冷却器能够在打印过程中有效调节温度.
步 7: Power On and Initial Testing
打开系统并执行初始测试.
- 检查是否有泄漏
- 监控温度读数
- 确保冷却剂流动顺畅
和 ±0.01℃精度, Coolingstyle 系统在运行过程中提供极其稳定的温度控制.
步 8: Adjust Temperature Settings
根据您的打印材料设置所需的温度.
- 解放军: Moderate cooling
- ABS: Controlled cooling to prevent warping
- Engineering materials: Precise temperature management
High-precision chillers allow fine adjustments for optimal performance.
步 9: Monitor Performance
During the first few prints, closely monitor the system:
- Temperature stability
- Noise levels
- Cooling efficiency
Make adjustments if necessary to optimize performance.
步 10: Routine Maintenance
To ensure long-term reliability:
- Clean filters regularly
- Check coolant levels
- Inspect tubing for wear
- Schedule periodic maintenance
Common Installation Mistakes to Avoid
- Incorrect tubing connections
- Using incompatible coolant
- Poor ventilation setup
- Ignoring leaks during testing
Avoiding these mistakes ensures a smooth and efficient setup.
Why Choose coolingstyle for Easy Installation
冷却风格 chillers are designed with user-friendly installation in mind.
Key Advantages:
- Ultra-high precision (±0.01℃)
- Compact micro design for easy placement
- 环保R290制冷剂
- 先进的微通道换热技术
- Efficient and reliable performance
These features not only improve cooling efficiency but also simplify the installation process.
结论
Installing a 3D printer chiller may seem complex, but by following the correct steps, you can ensure a smooth and efficient setup.
A properly installed chiller enhances print quality, reduces failures, and extends equipment lifespan. Investing in an advanced solution like 冷却风格 further ensures precision, 效率, and long-term reliability.
以其 0.01℃精度, 紧凑的设计, 环保R290制冷剂, 和微通道热交换技术, coolingstyle provides a powerful and user-friendly cooling solution for modern 3D printing environments.
包含AI内容