Installing a 3D printer chiller is one of the most effective ways to improve print quality, ensure temperature stability, and extend the lifespan of your equipment. Whether you are running a small workshop or managing an industrial 3D printing setup, a properly installed chiller can significantly enhance performance.
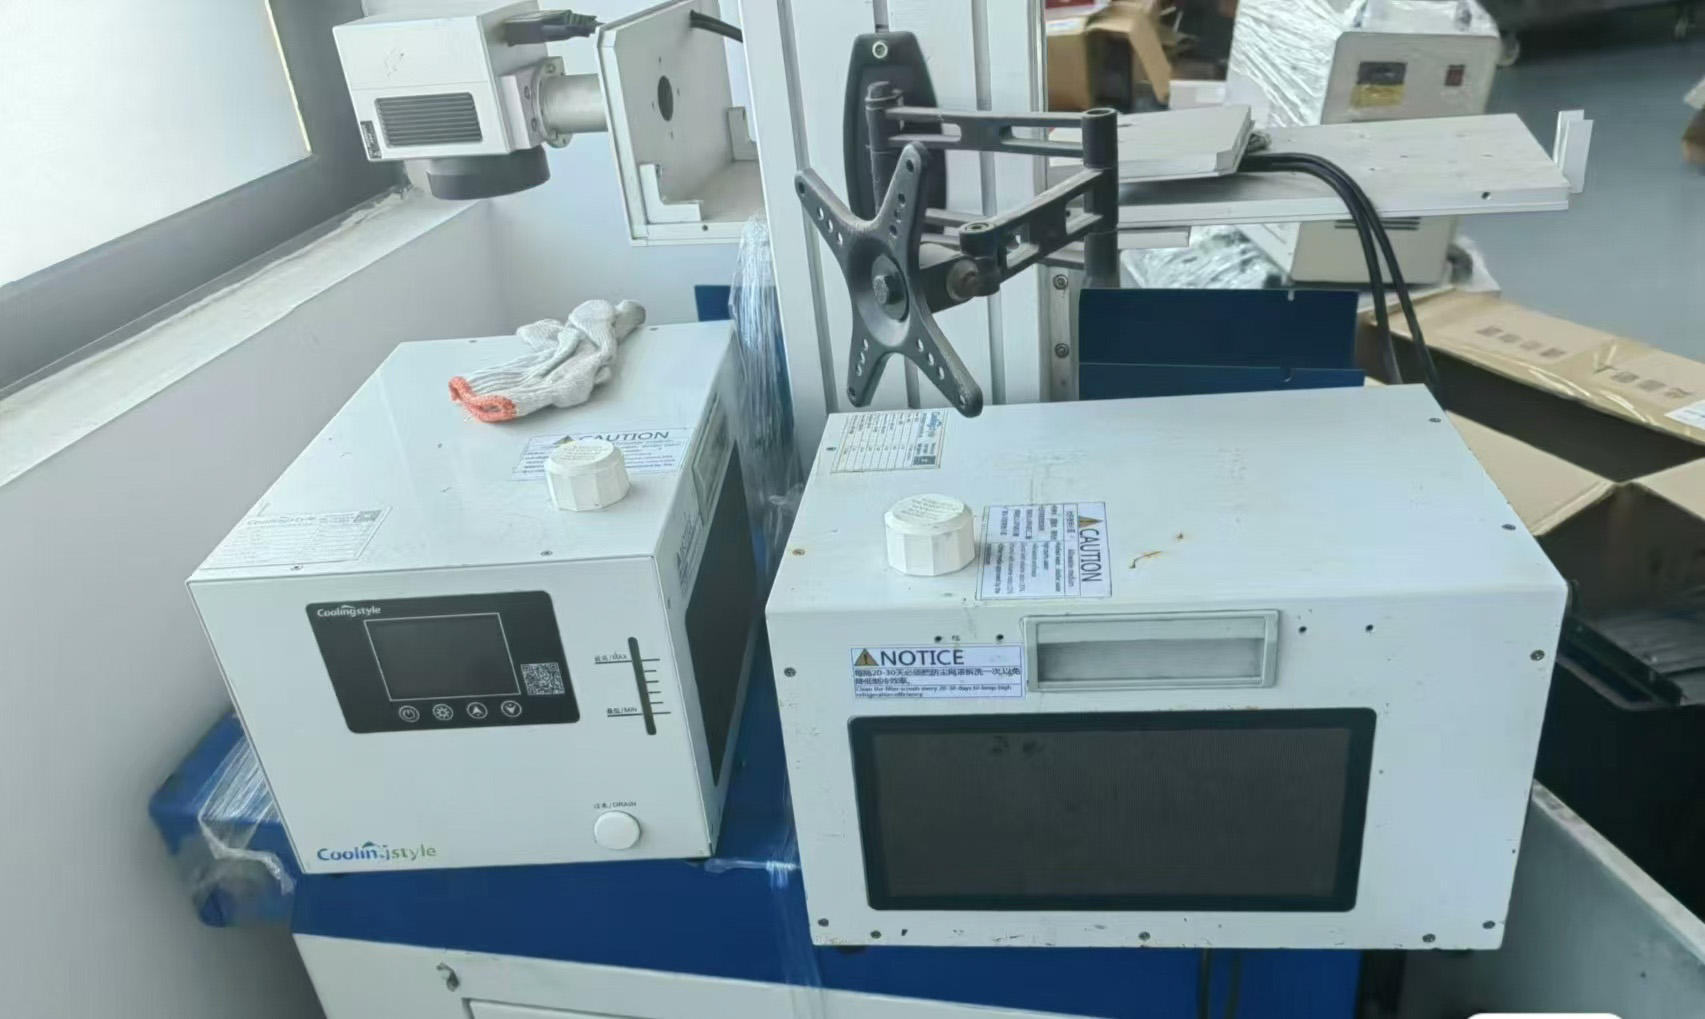
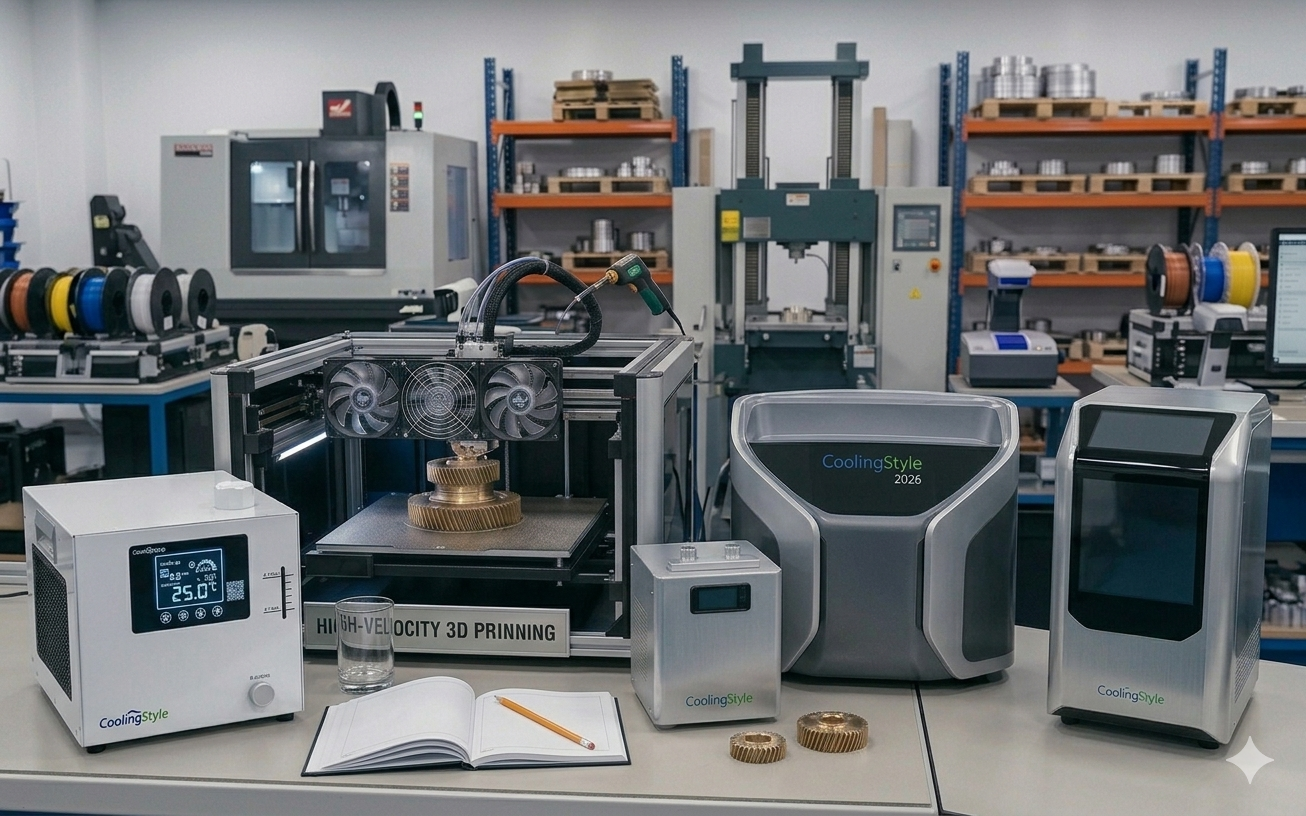
In this step-by-step guide, we will walk you through the complete installation process of a 3D printer chiller. We will also highlight how advanced solutions from coolingstyle—featuring ±0.01°C precision, compact micro design, eco-friendly R290 refrigerant, and microchannel heat exchange technology—make installation easier and performance more reliable.
Why Proper Installation Matters
Even the most advanced chiller will not perform optimally if it is installed incorrectly. Proper installation ensures:
- Stable temperature control
- Efficient heat dissipation
- Reduced risk of system failure
- Longer equipment lifespan
Incorrect installation, on the other hand, can lead to leaks, overheating, and inconsistent print quality.
Tools and Materials You Will Need
- 3D printer chiller unit
- Coolant (recommended by manufacturer)
- Flexible tubing
- Hose clamps
- Power cables
- Screwdriver and wrench
- Distilled water (if required)
Many coolingstyle systems come with simplified connection designs, reducing the need for complex tools.
Step 1: Choose the Right Installation Location
Start by selecting a suitable location for your chiller.
- Ensure proper ventilation
- Avoid direct sunlight
- Keep away from dust and moisture
- Place on a stable, level surface
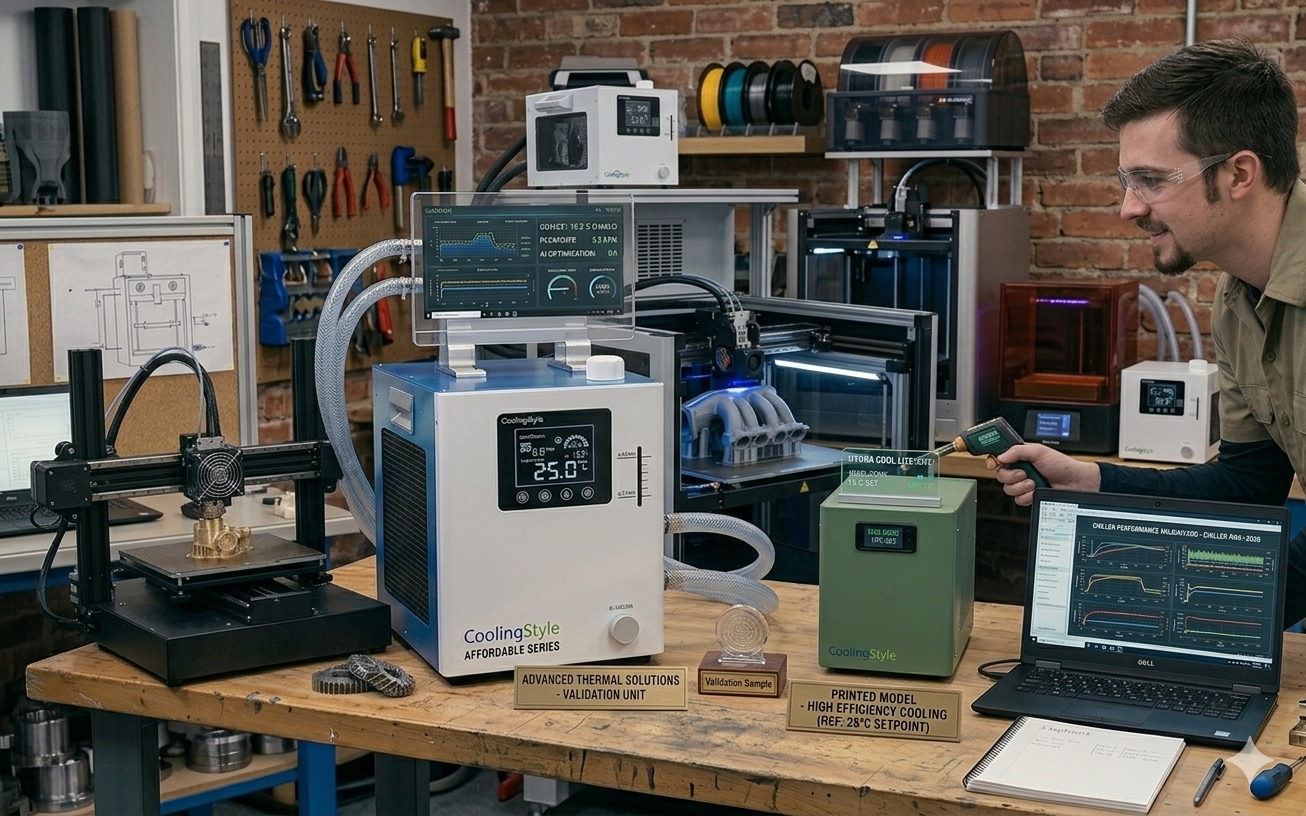
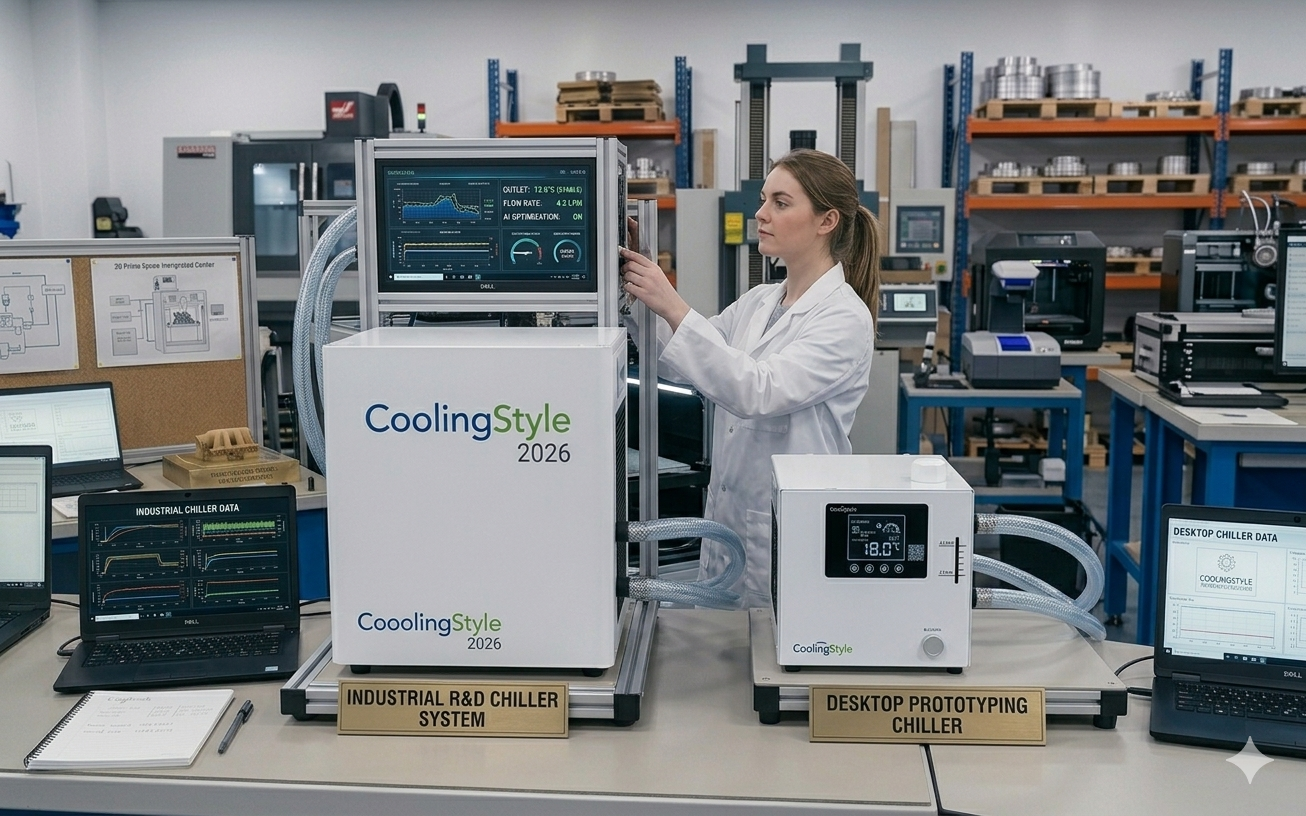
Thanks to its compact micro design, a coolingstyle chiller can fit easily into tight workspaces, making placement more flexible.
Step 2: Inspect the Chiller Unit
Before installation, carefully inspect the unit:
- Check for visible damage
- Ensure all components are included
- Verify connection ports are clean
This step helps prevent issues during setup.
Step 3: Connect the Cooling Tubes
Proper tubing connection is critical for efficient cooling.
- Identify the inlet and outlet ports
- Attach tubing securely
- Tighten hose clamps to prevent leaks
- Ensure no kinks or bends in the tubing
Coolingstyle systems are designed with optimized flow paths, supported by microchannel heat exchange technology, ensuring efficient coolant circulation.
Step 4: Fill the Coolant
Add coolant to the system according to the manufacturer’s instructions.
- Use recommended coolant type
- Avoid overfilling
- Check for air bubbles
Using high-quality coolant ensures better heat transfer and system longevity.
Step 5: Connect the Power Supply
Next, connect the chiller to a power source.
- Ensure correct voltage compatibility
- Use grounded outlets
- Avoid overloading circuits
Energy-efficient systems like coolingstyle help reduce power consumption during operation.
Step 6: Integrate with the 3D Printer
Connect the chiller to your 3D printer’s cooling interface.
- Secure all connections
- Ensure proper flow direction
- Double-check fittings
This integration allows the chiller to regulate temperature effectively during printing.
Step 7: Power On and Initial Testing
Turn on the system and perform initial tests.
- Check for leaks
- Monitor temperature readings
- Ensure smooth coolant flow
With ±0.01°C precision, coolingstyle systems provide extremely stable temperature control during operation.
Step 8: Adjust Temperature Settings
Set the desired temperature based on your printing material.
- PLA: Moderate cooling
- ABS: Controlled cooling to prevent warping
- Engineering materials: Precise temperature management
High-precision chillers allow fine adjustments for optimal performance.
Step 9: Monitor Performance
During the first few prints, closely monitor the system:
- Temperature stability
- Noise levels
- Cooling efficiency
Make adjustments if necessary to optimize performance.
Step 10: Routine Maintenance
To ensure long-term reliability:
- Clean filters regularly
- Check coolant levels
- Inspect tubing for wear
- Schedule periodic maintenance
Common Installation Mistakes to Avoid
- Incorrect tubing connections
- Using incompatible coolant
- Poor ventilation setup
- Ignoring leaks during testing
Avoiding these mistakes ensures a smooth and efficient setup.
Why Choose coolingstyle for Easy Installation
coolingstyle chillers are designed with user-friendly installation in mind.
Key Advantages:
- Ultra-high precision (±0.01°C)
- Compact micro design for easy placement
- Eco-friendly R290 refrigerant
- Advanced microchannel heat exchange technology
- Efficient and reliable performance
These features not only improve cooling efficiency but also simplify the installation process.
Conclusion
Installing a 3D printer chiller may seem complex, but by following the correct steps, you can ensure a smooth and efficient setup.
A properly installed chiller enhances print quality, reduces failures, and extends equipment lifespan. Investing in an advanced solution like coolingstyle further ensures precision, efficiency, and long-term reliability.
With its 0.01°C precision, compact design, eco-friendly R290 refrigerant, and microchannel heat exchange technology, coolingstyle provides a powerful and user-friendly cooling solution for modern 3D printing environments.
Contains AI Content